|
This is the first in a three-part series on late summer garden problems. So many words are expended on spring planting, when gardeners are already full of plans and optimism. I think folks need inspiration more after their plans and optimism have been subjected to aphids, weeds, drought, and just plain life. By August, things can get confusing in the garden. Here's how to bring it into focus, accomplish the key tasks, and move on. 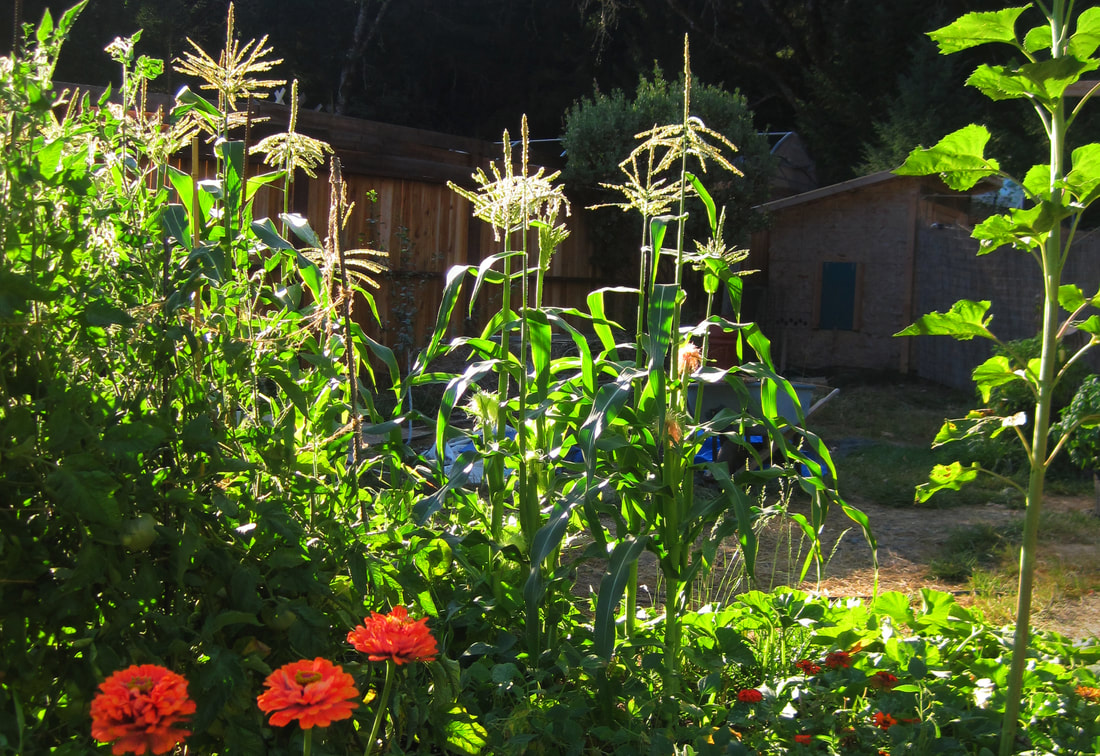 First, take a minute to just enjoy being in your garden.
Now, take a look at what is actually happening out there in the jungle. Make a list, or a drawing, or a phone memo or whatever is easy for you. Think about what you've been eating out of the garden and what you enjoy about it. Sort things into 6 categories:
Now you already have a plan: numbers 3, 4, 5,and 6 are where your fall garden going to be. (Or cover crops, or mulch.) Number 1 is doing okay and might just need some compost one of these days. Number 2 is where you concentrate your efforts. This is the part of the garden that will fail without help, but is in good enough shape that your help won't be in vain. Let's deal with zones 3, 4, 5, and 6 first. If the combined area is small, pull everything out. Or get out the hoe and take it down. Then, either plant fall crops there right now, or cover it up until you can plant. (use a tarp, mulch, cardboard, plywood, bedspread--anything to keep weeds from undoing your work.) If your renewal zone is larger and out of hand and you don't have time to deal with it, stomp it down with your feet, water it well, and put cardboard or a tarp over it. In a month it will be composted and ready for your fall transplants or your cover crop seed. Keeping it covered not only kills the weeds, it allows the worms to come to the surface and eat them. They will also fluff the soil up for you. The stomping and covering shouldn't take more than an hour, once you have located the cardboard, mulch, or tarp. And trust me, it will make you feel great. Start some seeds in pots, flats, or old containers of some kind, and you have a fall garden on the way.
2 Comments
You can bring the summer to a triumphant close instead of letting it peter out. These tasks will really make a difference with area 2 on your list--plants that are basically well-grown and ready to produce for you, but getting tired, hungry, stressed, or drained by pests. These are the tasks that bring big rewards. Problem: Depletion Zucchini can get pretty tired and hungry after pumping out squash all summer. Any plant that produces over a long season, like pole beans, okra, peppers, chard, or cucumbers can use a snack about now. Solution: Give your hard-working plants a layer of compost, a dose of fish emulsion, a dusting of alfalfa meal, or some other nitrogen source. To make your own probiotic fertilizers, see our directions HERE. (Tomatoes shouldn't get too much nitrogen--compost is perfect. To cure blossom end rot, give them some fast-acting calcium--CalMag or wood ash.) Problem: Weed Competition Weeds can take over in a hurry, especially when really hot days make hoeing or weeding a misery. Solution: If possible, set aside a time in the morning or evening to do 15 minutes of weeding. The key is to keep it simple, manageable, and repeatable. (I like to take a glass of wine out with me and watch the day fade and the birds go home to roost.) As you deal with the weeds, make a plan for prevention. Weeds need light and moisture. If you can deprive them of one or the other, with mulch, cardboard, plastic tarp, or shutting off the water, you will have less of a problem. As you finish each area, even if it is only 1 sq ft, mulch it. I have big swathes of weeds where I was waiting to mulch when I finished the whole bed. Don't follow my bad example! If there are patches that are too overrun to be worth saving, fine. That's a perfect place for fall vegetables. Get out the hoe and erase the problem. Remember that Fall is the Season of Forgiveness in the Garden; you get a fresh start. Problem: Tiny Bloodsuckers Thrips, mites, whiteflies, and their ilk are the bane of the late summer garden. Often too small or hidden to see, you don't know they're there until there are lots, which is now. They attack the lowest leaves first. They suck sap out of the leaves. The leaves develop a silvery or white speckled or stippled appearance on top, where the juicy middle of the leaf has been sucked away from the outer skin. Sometimes the leaves curl. With spider mites you sometimes see webbing, like spiderweb. You can often see dark specks of excrement and discolored patches that have been sucked dry. What you often won't see are the bugs themselves. They are tiny. You might want to invest in a little pocket microscope. Thrips are large enough to see with a hand lens or even your naked eye sometimes. But mites are pretty much invisible. Aphids, scale, and whiteflies are all visible, but small. Unless you turn the bottom leaves over, you may not see them. 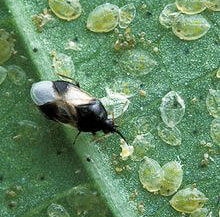 Solutions: These should be multi-pronged and repeated over time. They include keeping weeds down; having lots of small flowers in bloom, especially alyssum, which hosts a major mite predator; mulch; removing lower leaves and branches that act as a ladder for the pests; and spraying with solutions that knock down soft-bodied pests while not damaging their predators. (The photo above shows a minute pirate bug eating pests.) I would start by spraying compost tea. It is the least disruptive to beneficials, and it strengthens the plant so it can fight back. Soap-based sprays can work, especially when they include essential oils like peppermint and oregano. Enzyme-based sprays work well. They are non-toxic and work by digesting the outer skeleton of the pests. (Using an enzyme found in the guts of earthworms, which dissolves the skeletons of the soil organisms they eat.) The brand I am familiar with is called Dr Zymes. I also use it for mildew, which is another late-summer plague. The key for mildew is often to change the pH of the leaf surface, and to add probiotics that prevent the mildew organism from spreading. Compost tea is a good place to start.
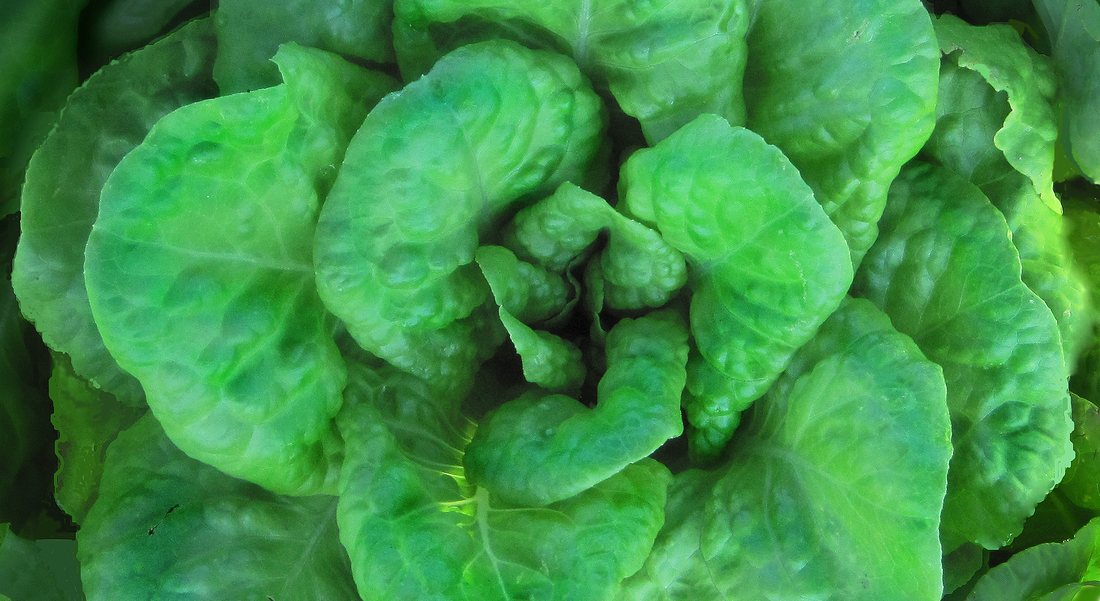 In August and September, you want to harvest high-quality produce from your productive summer crops, and get a healthy batch of fall crops going in the areas that are starting fresh. Here are some tricks I have learned to get a good stand of new seedlings in spite of the heat, and get the most out of your summer corn patch. Getting lettuce to sprout in hot weather Most lettuce has spotty germination in hot weather. (Just when you really want salad,) If the seeds have been stored in temperatures over 80, they can go into deep dormancy and be difficult to sprout. Two solutions:
 Getting a good stand of root crops Root crops are winter comfort food. They aren't demanding, either. Ordinary garden soil with no extra fertilizer should do. The hard part is getting them started. They need to get going while the weather is still hot, or they won't be big enough when cold weather comes and growth stops. Their seeds take longer to sprout than greens do. You have to keep the soil moist for a long time so the seeds don't dry out and die. This can be a challenge. Try this:
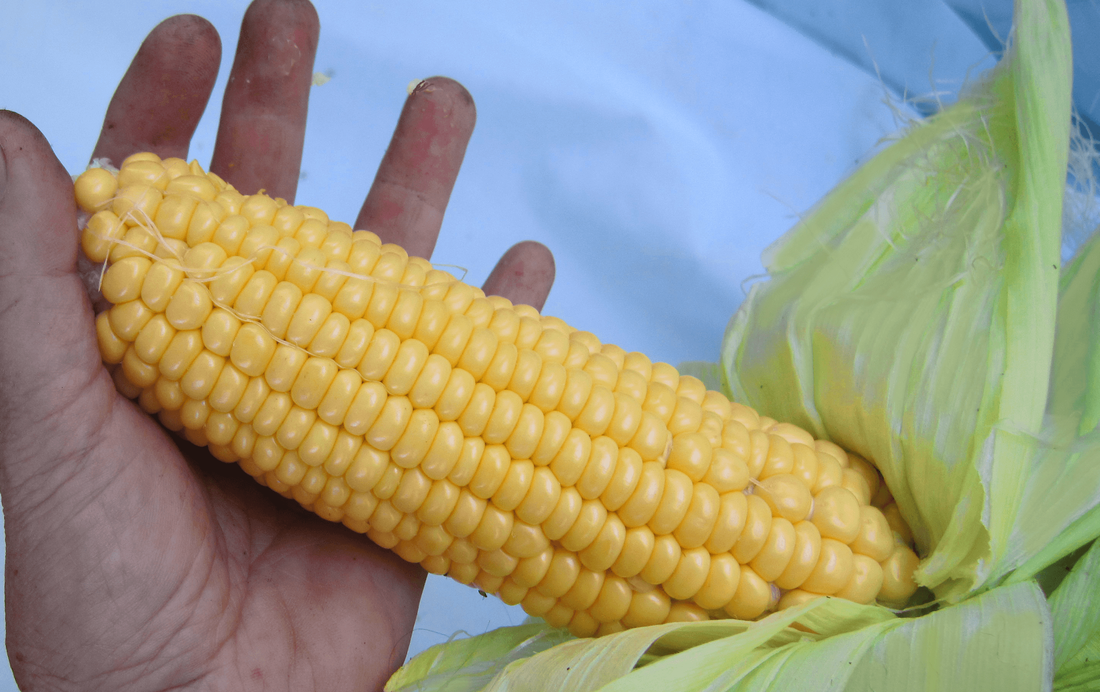 Growing well-filled ears of corn
For some reason, I never see cucumber beetles damaging my cucumbers, or any other cucurbit. What I do see them doing is eating cornsilks. Now this is a big problem because the silk is the pollen tube of the corn ear. If pollen can't go down that tube to pollinate the ear, kernels won't form. So check your ears; if the silks are cut off short, or missing, you need to go get cucumber beetle traps. They are sticky like flypaper and have a pheromone that attracts the beetles. When to harvest sweet corn? It is not as straightforward as a tomato. There is no visible sign when the sugars that make it sweet are fully developed, or when they (very quickly, alas) turn to starch and lose flavor. Once you see shriveled silks at the tip of an ear, watch it daily. When the ear is well-filled, feel the tip to see if it feels pointed under the husk or if it has filled out into a more rounded or blunt shape. The husk should still be green, and the silks should be brown and dry. Eventually, when you think it may be ripe, you can peel back the husk enough to check the kernels themselves. Pop one with your fingernail. If it has clear juice, it's not really ready (but don't throw it away, its just not as sweet.) If the juice is milky, it is JUST RIGHT. If it is pasty or gummy, it is past its prime but still edible. Once you have peeled back some of the husk to make this check, watch the ear carefully for insect damage. |
AuthorJamie Chevalier lives and gardens on a river in the Coast Range of Northern California. She has gardened professionally in Alaska and California, as well as living in a remote cabin, commercial fishing, and working with seeds. She is the proprietor of Quail Seeds. Archives
July 2024
|
- Home
-
Shop
- Plant for Summer
-
Vegetable Seeds
>
- Arugula
- Beans
- Beets
- Broccoli and Cima di Rapa
- Cabbage
- Carrots & Roots
- Celery
- Chard
- Corn
- Cucumber
- Eggplant
- Fennel
- Genepools and Landrace Gardening
- Greens
- Kale and Collards
- Lettuce
- Melons
- Oil Crops
- Okra
- Open-Source Seeds (OSSI)
- Onions and Leeks
- Peas
- Peppers
- Spinach
- Squash & Pumpkins
- Sunflowers
- Tomatoes
- Tomatillos/Husk Cherries
- Turnips and Rutabagas
- Perennial Vegetables >
- Flower Seeds
- Herb Seeds >
- Seed Collections
- Pollinator and Pest Control Plants >
- Grains >
- Cover Crops >
- Open Source (OSSI)
- Start these Indoors
- People behind the Seeds >
- Companion Plants
- Recipes >
- Fast, Fresh Food
- Plant for Spring >
- Plant for Fall >
- About Us.
- Blog
- HOW-TO
- Mid-to-Late Summer Sowings
 RSS Feed
Proudly powered by Weebly
- Home
-
Shop
- Plant for Summer
-
Vegetable Seeds
>
- Arugula
- Beans
- Beets
- Broccoli and Cima di Rapa
- Cabbage
- Carrots & Roots
- Celery
- Chard
- Corn
- Cucumber
- Eggplant
- Fennel
- Genepools and Landrace Gardening
- Greens
- Kale and Collards
- Lettuce
- Melons
- Oil Crops
- Okra
- Open-Source Seeds (OSSI)
- Onions and Leeks
- Peas
- Peppers
- Spinach
- Squash & Pumpkins
- Sunflowers
- Tomatoes
- Tomatillos/Husk Cherries
- Turnips and Rutabagas
- Perennial Vegetables >
- Flower Seeds
- Herb Seeds >
- Seed Collections
- Pollinator and Pest Control Plants >
- Grains >
- Cover Crops >
- Open Source (OSSI)
- Start these Indoors
- People behind the Seeds >
- Companion Plants
- Recipes >
- Fast, Fresh Food
- Plant for Spring >
- Plant for Fall >
- About Us.
- Blog
- HOW-TO
- Mid-to-Late Summer Sowings